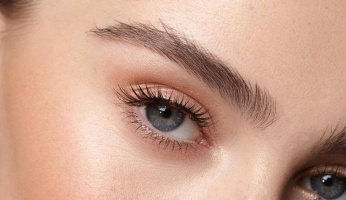

Nose Contouring: How To Fake A Nose Job With Makeup
Nose contour can be an intense trend to try out. There are typically a few steps, but the results are worth the extra time in front of a mirror.
If you’re insecure about your nose, contour can be the perfect easy fix. Most people call it “faking a nose job”, but we just like to call it contour.
So, how exactly do you contour your nose for a perky, perfect look every time?
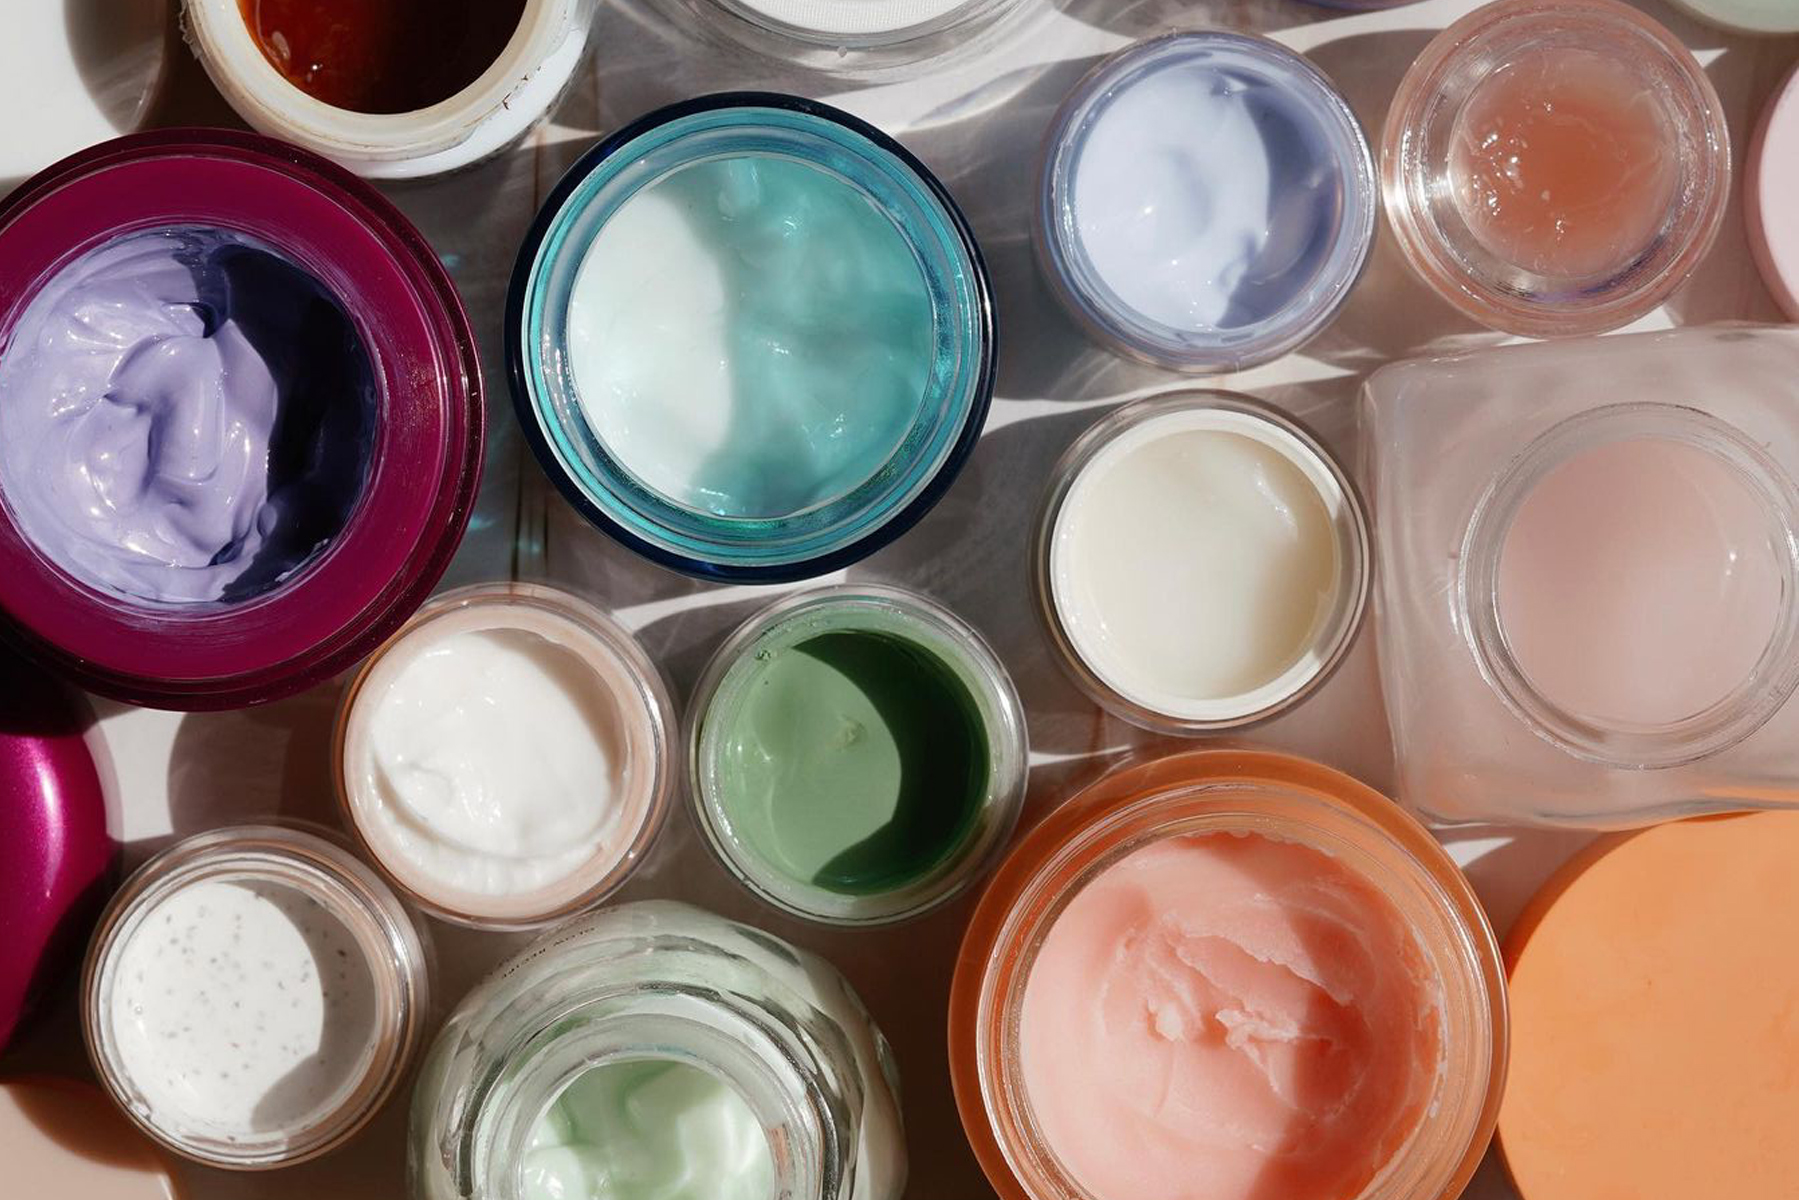
Our Favorite Contouring Products
Firstly, start with a cream contour. While powder contours are great for bigger areas like your cheekbones, your nose is quite a small space to work with. Cream contours allow you to be more precise in the application and are typically easier to blend.
You can layer cream and powder contour for a deeper, more intense shading. There are cream palettes that come with a few alternating shades and highlighter, and there are contour sticks as well.
Some great contour palettes include:
For contour sticks, we love:
You’ll also need a highlighter. Some well-loved highlighters to try are:
- Wet N’ Wild MegaGlow Highlighting Powder
- bareMinerals Endless Glow Highlighter
- Makeup By Mario Soft Glow Highlighter
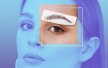
Nose Contouring Techniques
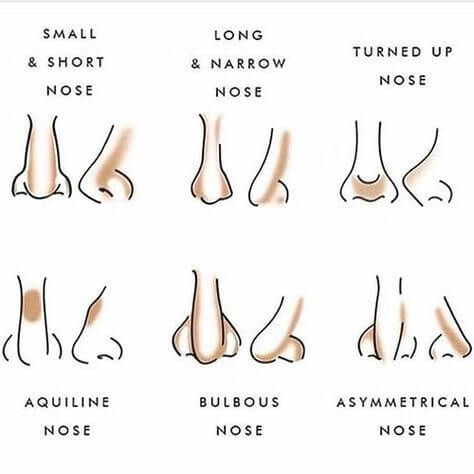
The first step is choosing a shade that’s slightly darker than your usual, go-to contour. You’re going to be contrasting the contour with a highlighter later, so a deeper contour shade lets the brightness pop even more. Where to place the initial contour lines depends on your nose- shape altogether.
Next, you’ll want to prep your nose by priming it. We love the Maybelline Baby Skin Instant Pore Eraser Primer. You can use your favorite one. Don’t set it just yet, we’re going to be applying cream products on top. When layering creams, remember to set after, not in between.
If you have a large bridge and you want a slimmer appearance, then place your contour lines starting at the front of your eyebrows and bring it all the way down the bridge of your nose. You’re going to blend everything inward, toward the center of your nose. This will create shadows that lead the eye to a thin strip of flesh that isn’t contour-covered which will give the illusion of a slim nose.
Next, you’ll want to apply your highlighter down the center of your nose and right at the tip. This will contrast against the shadows and reinforce that cinched look. Applying concealer at the sides of your nose to clean up your contour and brighten the sides will just emphasize all that shading you just did, as well as make sure it’s all blended seamlessly.
If you have a rounded nose or a slight bump to your nose, we’ve got the perfect tip for you. In this case, use your contour in a horizontal line going across the bump. Next, you’re going to apply a highlighter at the tip of your nose. This will draw attention to the tip of your nose and mask any bump on your bridge.
Lastly, if you’re trying to mimic an upturned nose for that perfect, fairy look, look no further. This type of nose takes a little more time. You’re going to want to start by contouring the bridge of your nose as we explained before. Take it from the tip of your brows down to the tip. Don’t blend just yet.
You’re also going to apply some contour underneath the tip of your nose as well as across the bridge of your nose, creating a little box where just the tip of your nose is peaking through. You’re going to want to blend that inward again. This is going to create the illusion of a slender nose, but the shadows were giving under the tip will draw more attention to the tip of the nose.
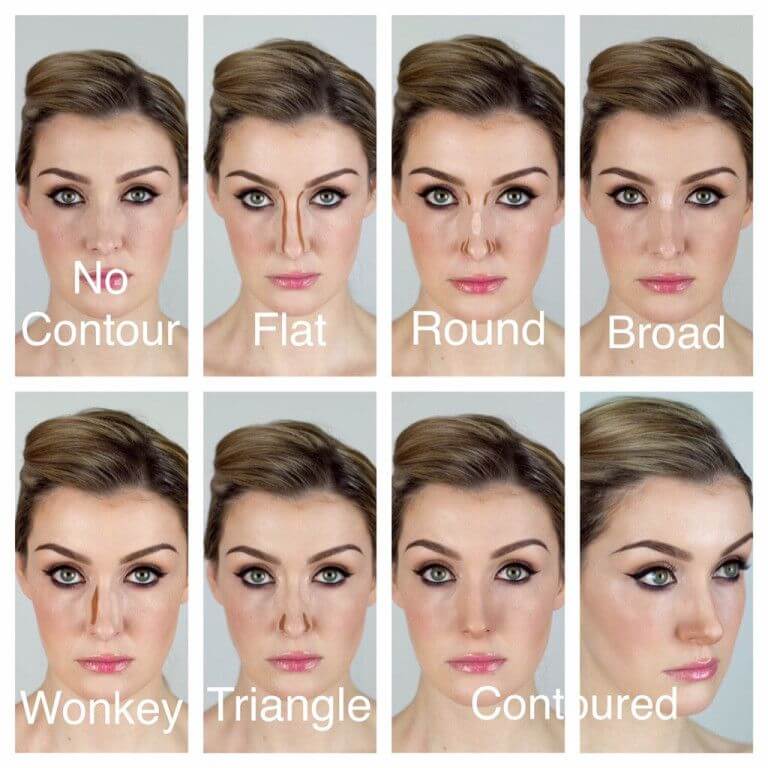
Lastly, you’re going to want to highlight that bit of nose that wasn’t contoured, at the very tip. You can also add some highlighter on the bridge of your nose above that horizontal contour we applied earlier.
If you’re a visual learner, we’ve got two tutorials you might love.
BrittanyBearMakeup’s Fake A Nose Job W/ Nose Contour is a ten-minute, easy-to-follow guide on nose contour. She uses all these tips we’ve outlined above but shows you how to put them into action in real-time!
Another great video tutorial is from the creator of Huda Beauty. Her Nose Contour Tutorial is slightly longer, but is worth the extra time if you have it!